Installing WP Fusion and Connecting to ActiveCampaign
Course Lessons
Configuring WP Fusion and linking it to ActiveCampaign.
WP Fusion is available both as a free version and as a paid version. If you want to use the free version you can click here to download WP Fusion Lite, or you can get it from the WP repository here. If you want to use one of the paid versions you need to download it (a zip file) from your WP Fusion account.
To install a downloaded plugin, while in your WP admin area navigate to Plugins » Add New in your WordPress dashboard and upload the .zip file. Once the installation is complete, click on Activate to make it active on your site.
Connecting WP Fusion to ActiveCampaign
After WP Fusion has uploaded and you’ve activated the plugin, go to Settings » WP Fusion. You won’t be able to see any other WP Fusion options or functionality until you have connected it to your CRM. To connect ActiveCampaign, first make sure you have obtained your ActiveCampaign API URL and API Key. Then, in the WP Fussion Settings, select ActiveCampaign for the CRM and enter the information for API URL and API Key.
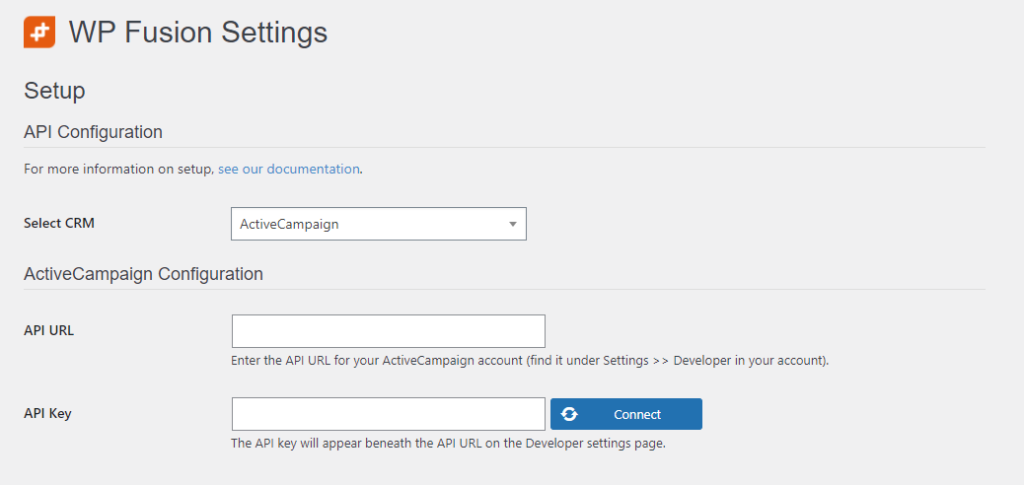
After you have entered your API details, click on the Connect button. WP Fusion will then validate your API credentials, and if confirmed, will load some data from your CRM like your available tags and custom fields.
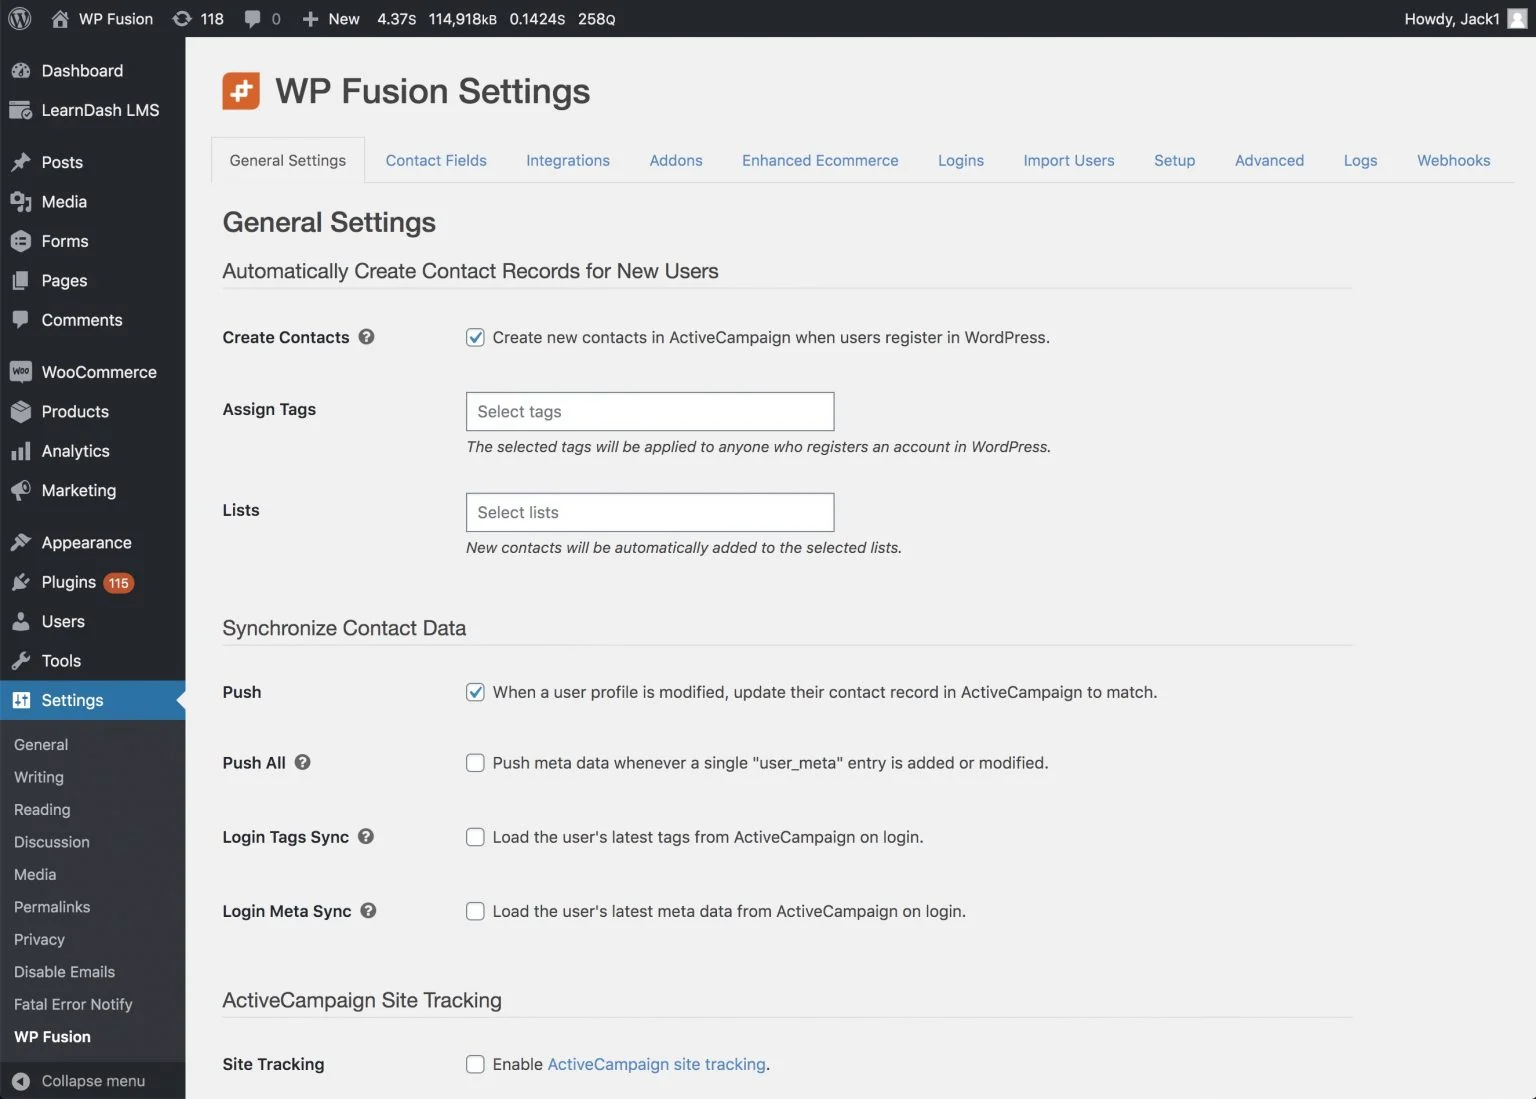
Once that’s finished you can save the settings, and the rest of the WP Fusion options will appear.
Initial User Sync
After you’ve connected WP Fusion to your CRM and saved the settings page, WP Fusion will go through the users on your site and attempt to match them with contact records in your CRM.
A status bar will appear at the top of the page showing this progress. If a match is found the contact’s ID and tags will be loaded and cached in WordPress for future use.
No data will be sent to your CRM during this process and no user data will be modified.